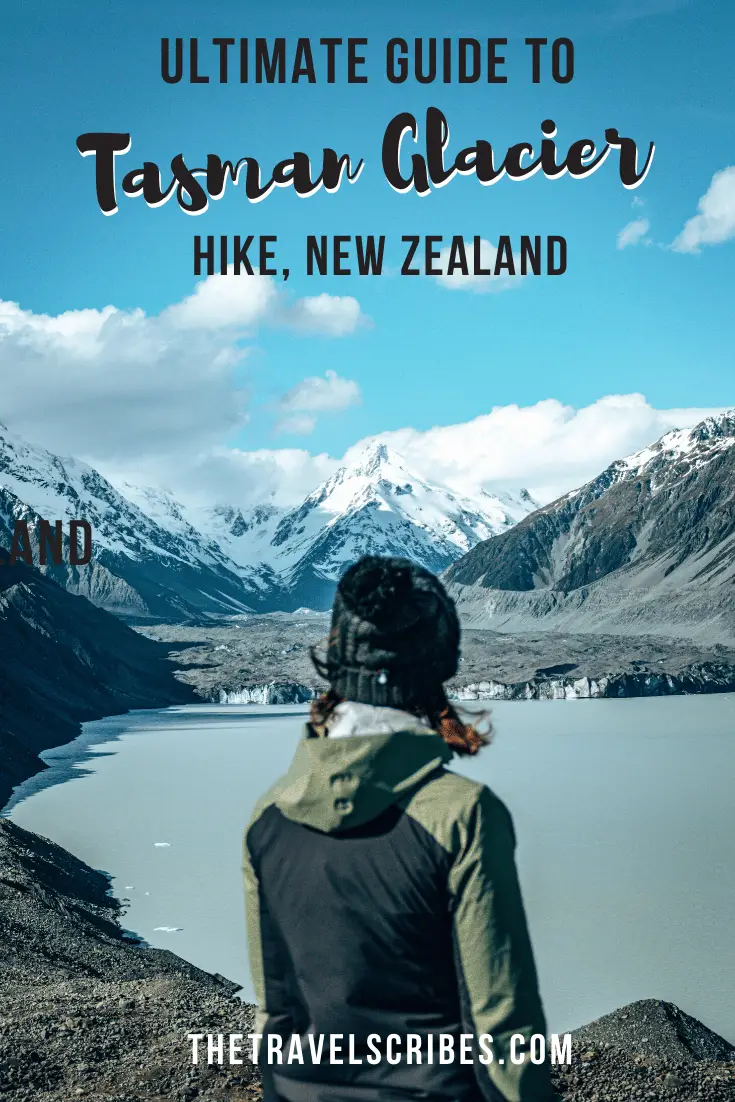
Now if you’re an avid hiker, we recommend you stop reading right now. Because what you’re about to take in will probably offend many an experienced trekker. The fact that you can see one of New Zealand’s most incredible vistas – the Blue Lakes and Mount Cook – in just a 45 minute, easy as pie walk. Yup, that’s right. It’s by taking the Tasman Glacier View Track.
In this article we’re going to run through one the easiest and most rewarding walks you’ll ever do, with a comprehensive guide on seeing both the Blue Lakes and the iconic New Zealand landmark of Mount Cook, by using the Tasman Glacier View Track. That said, we’ve thrown in a few other tramping options at the end if you’re hungry for a bit more hiking…
Recommended: Everything you should see on the drive from Christchurch to Queenstown.
Skip ahead
What is the Tasman Glacier?
Nestled within the Aoraki Mount Cook National Park, the Tasman Glacier is the largest ice structure in all of New Zealand, and boasts nearly a third of ALL glacier ice in the country.
The glacier is absolutely enormous – 27 kilometres long, 101 square kilometres and 600m deep; it’s a marvel to see.
That said, while it is set in its own terminal lake (Tasman Lake), the ice shelf of the glacier is slowly melting and tearing away, with icebergs floating in the water. Actually back in the 1970’s there was no lake at all but since the 1990’s the glacier has been melting rapidly; in the years between 2000 and 2008 it receded by 3.7km! It’s sad to say but apparently the glacier will disappear by about 2040.
An interesting (but definitely not fun) fact is that they believe the 2011 Christchurch earthquake contributed to a huge calving of the glacier where 30 to 40 million metric tons of ice fell into the lake.
Key Statistics: The Blue Lakes and Tasman Glacier View Track
- Length: 45 min – 1 hour return / 2.5km / 1.5 miles
- Start and end point: Tasman Glacier / Blue Lakes Car Park
- Elevation: 100 metres / 330 feet
- Difficulty: Easy
How to get there
The Tasman Glacier View track starts at the Tasman Glacier Car park, also known as the Blue Lakes Car Park. The car park is at the end of Tasman Valley road which you’ll take near the end of Mount Cook road. It’s approximately eight kilometres away from Mount Cook Village.
Google Coordinates: -43.698012, 170.163101
Tasman Glacier View Track Map
You can do a self-drive there or, if you don’t have your own wheels, there are day trips you can do from Christchurch with Get your Guide.
For a really incredible experience, you can even book a heli hike for about 600 AUD per person (USD / GBP).
Read next: The ultimate itinerary for Christchurch.
What to expect from the Tasman Glacier View Track
Walking towards the Tasman Glacier Viewpoint
Once you’ve pulled up in the car park, you’ll head up past the toilets and the Blue Lakes shelter, using a gravel path. About 150 metres down the path you’ll come to a fork where you need to turn to the left towards ‘Tasman Glacier View and Blue Lakes’ – the righthand fork takes you to the Tasman Jetty where they do the boat tours.
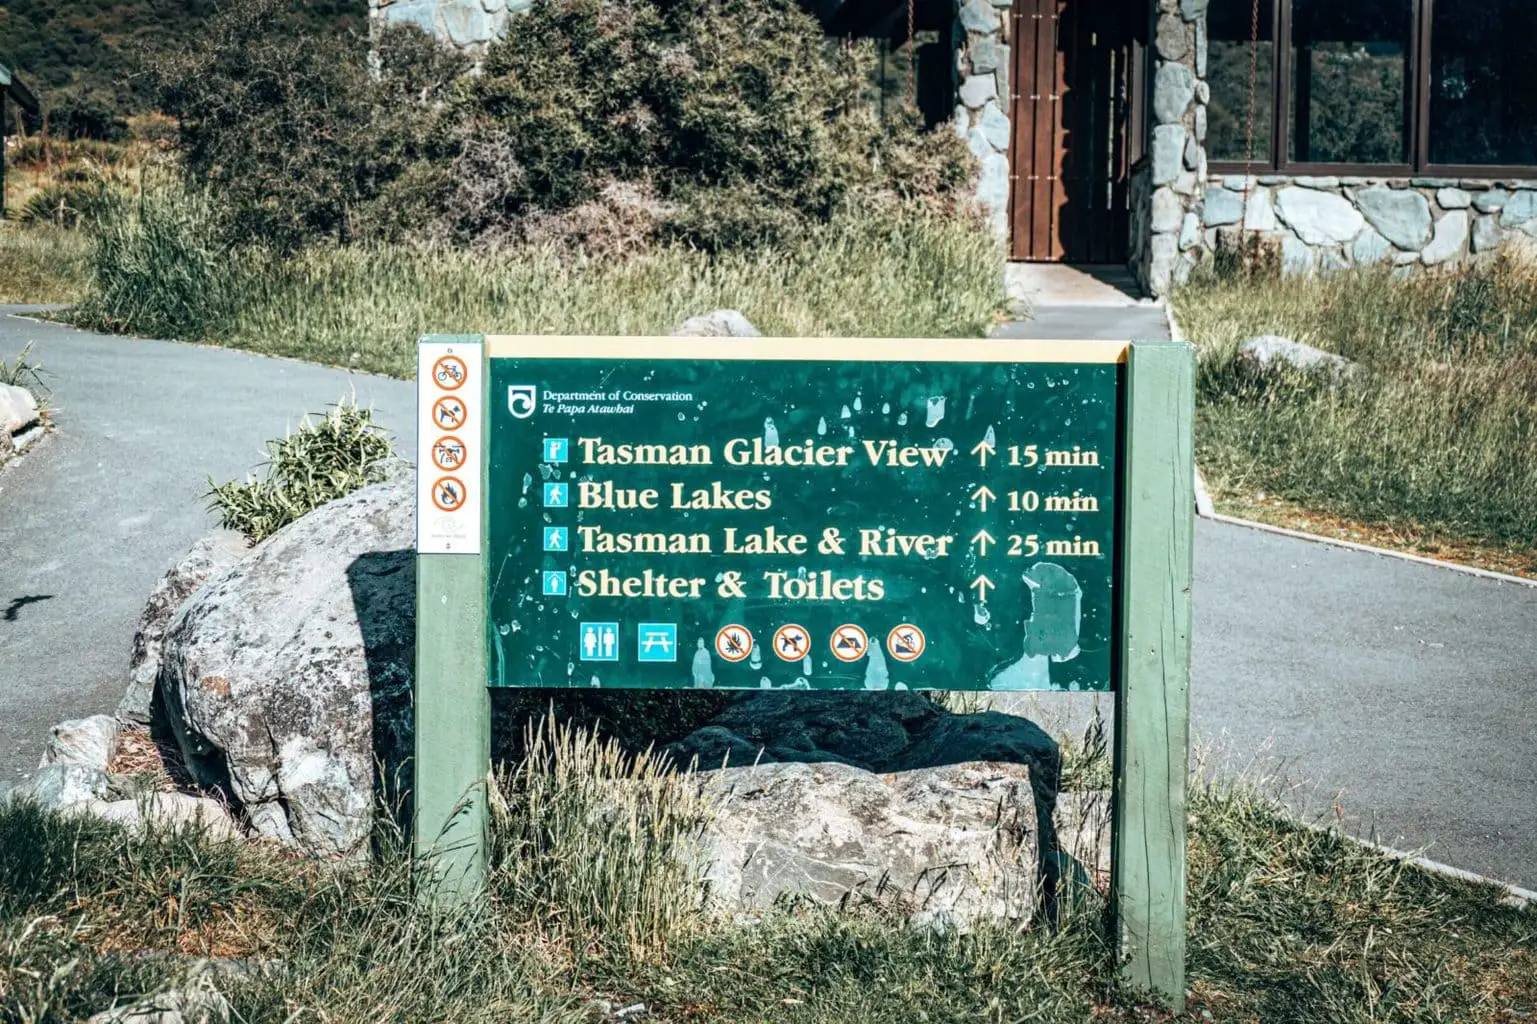
Continue along this path for about 400m of hiking along a mix of steps and trail, where you’ll find another marked fork – left to the Blue Lakes and right to the Tasman Glacier View. We’d recommend you see both but do the Tasman Glacier first, so that you get all the ‘heavy hiking’ (serious sarcasm: it’s just a few steps) out the way first.
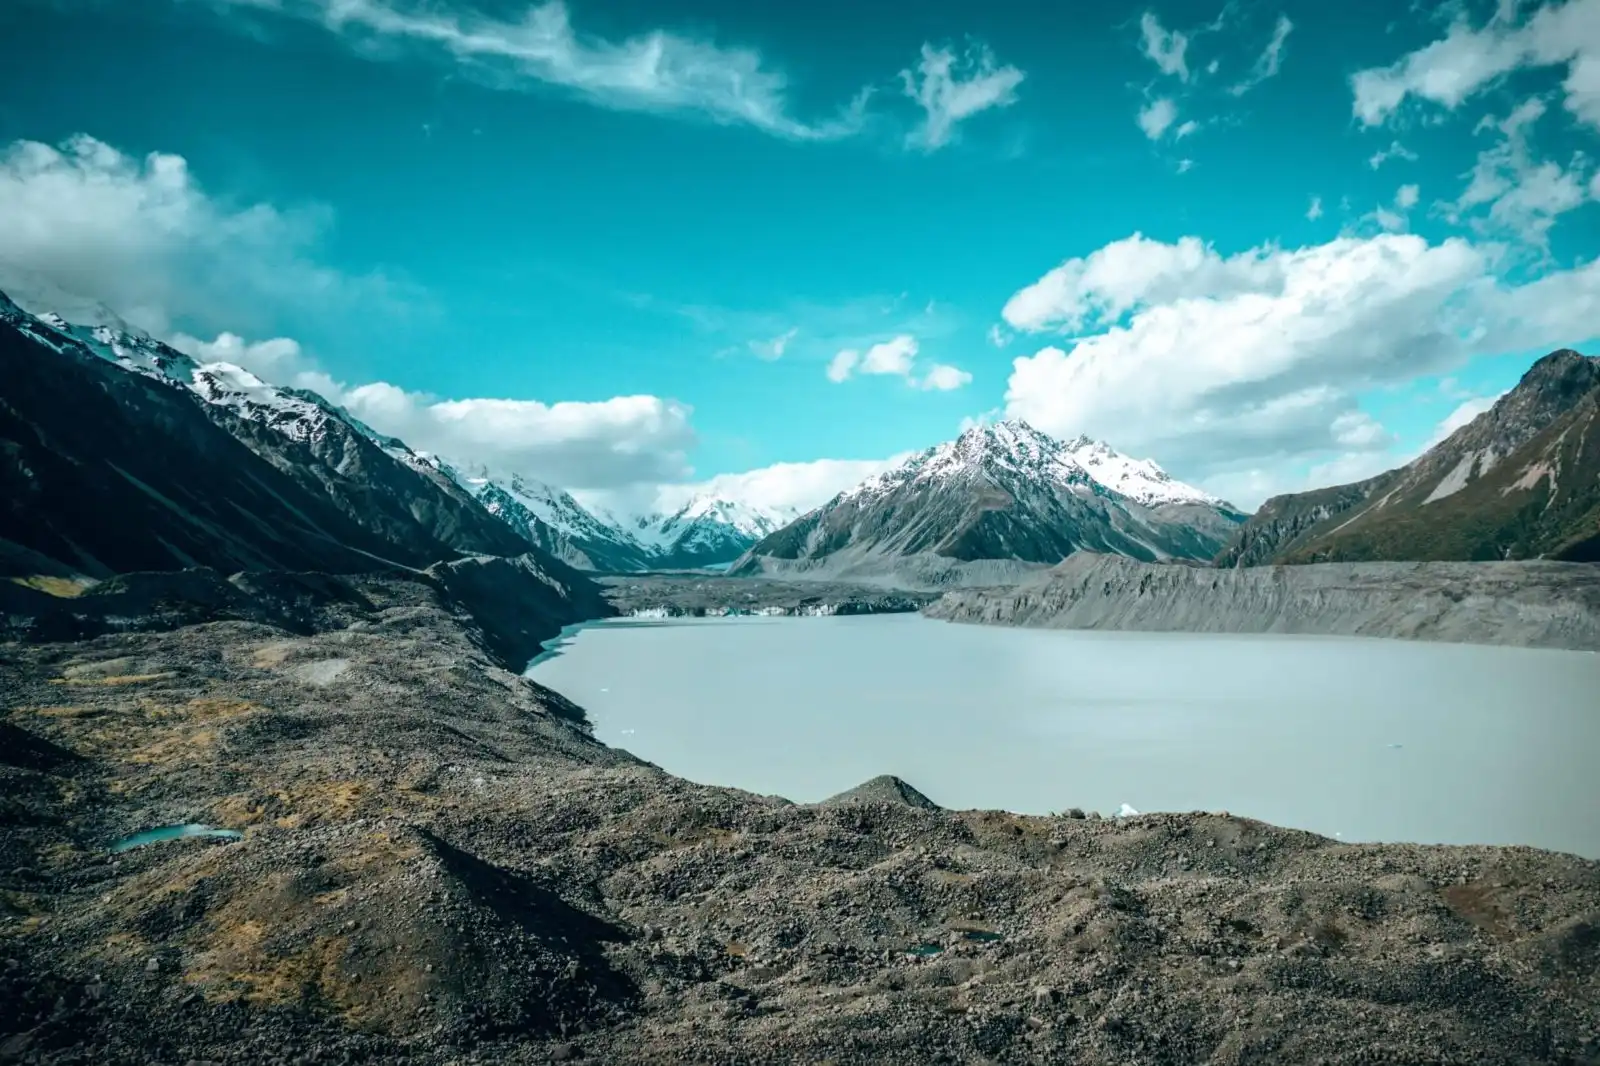
You’ll ascend about another 600m or so up more wooden stairs and trail, to finally make your way to the ‘summit’, where you have a sweeping, breathtaking view before you: the Tasman Glacier and the Tasman Lake.
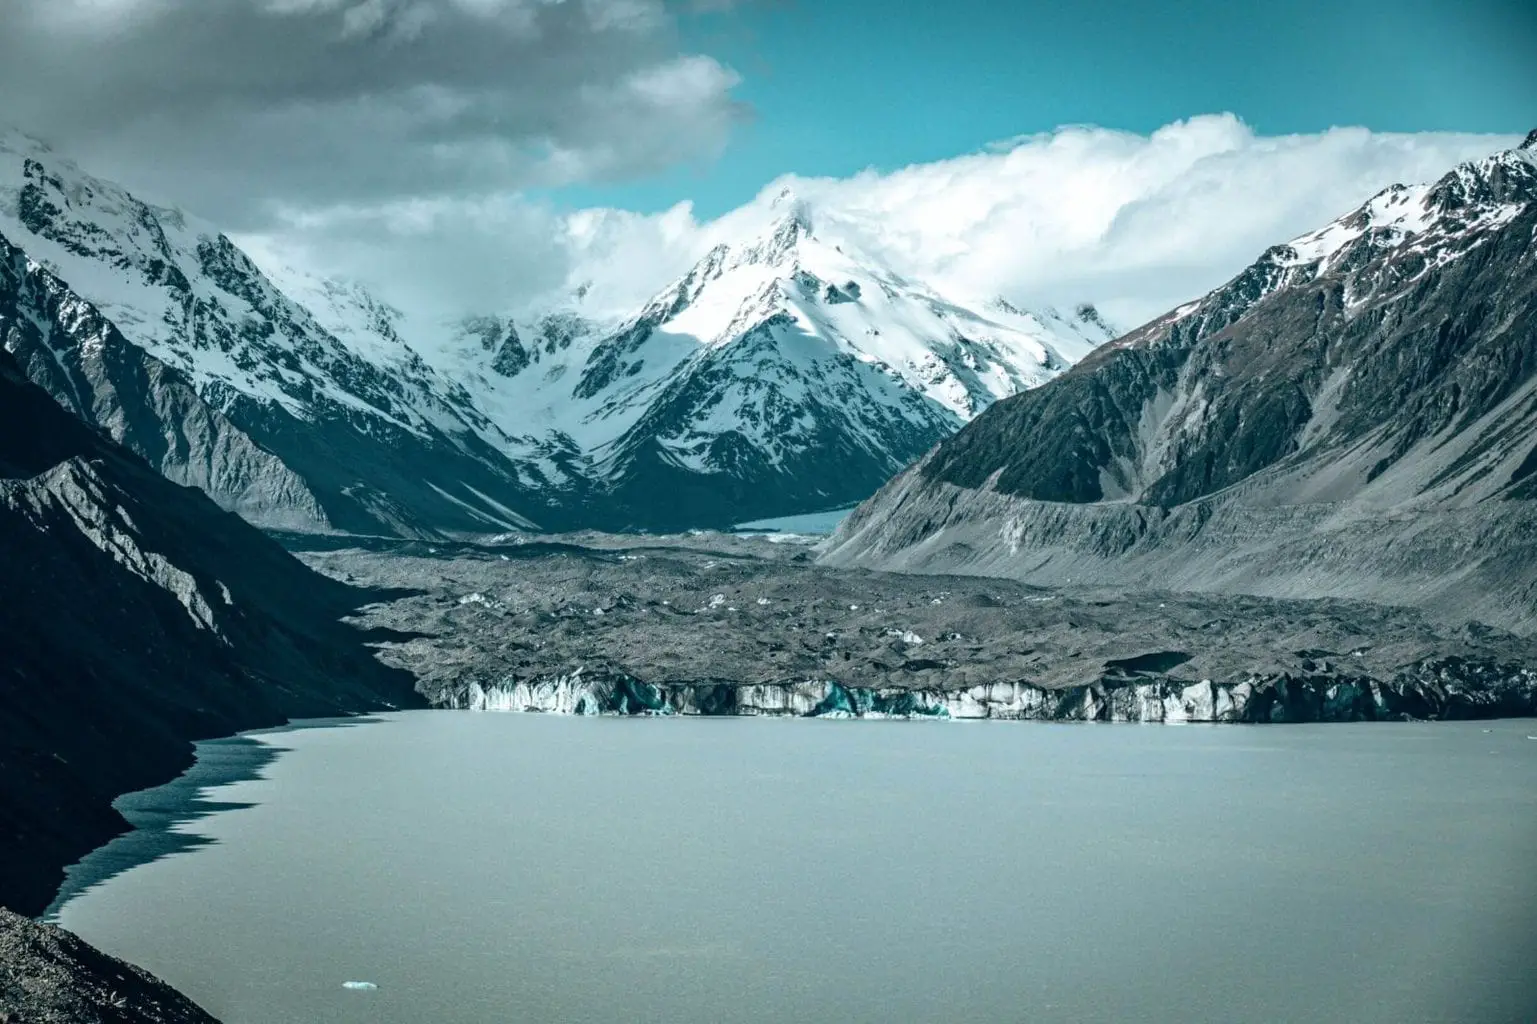
Tasman Glacier Viewpoint
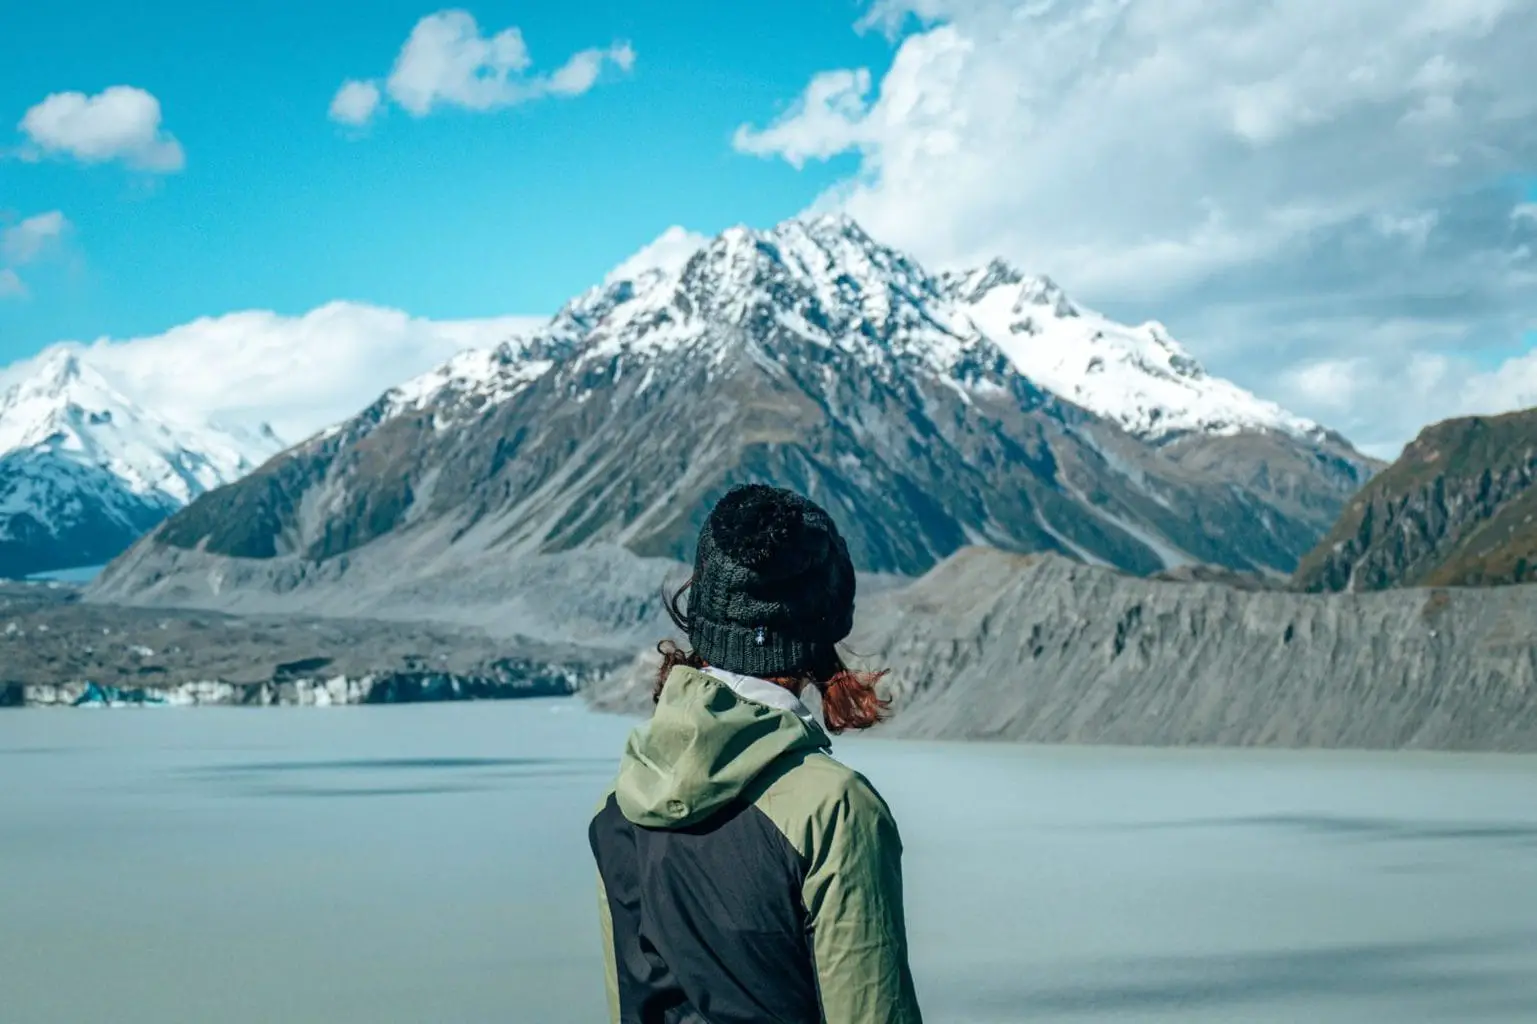
You’ll see the terminal Tasman Glacier Lake is a milky blue-brown colour – that means that it’s filled with glacial melt. It turns progressively more blue where the glacial particles have settled on the bottom.
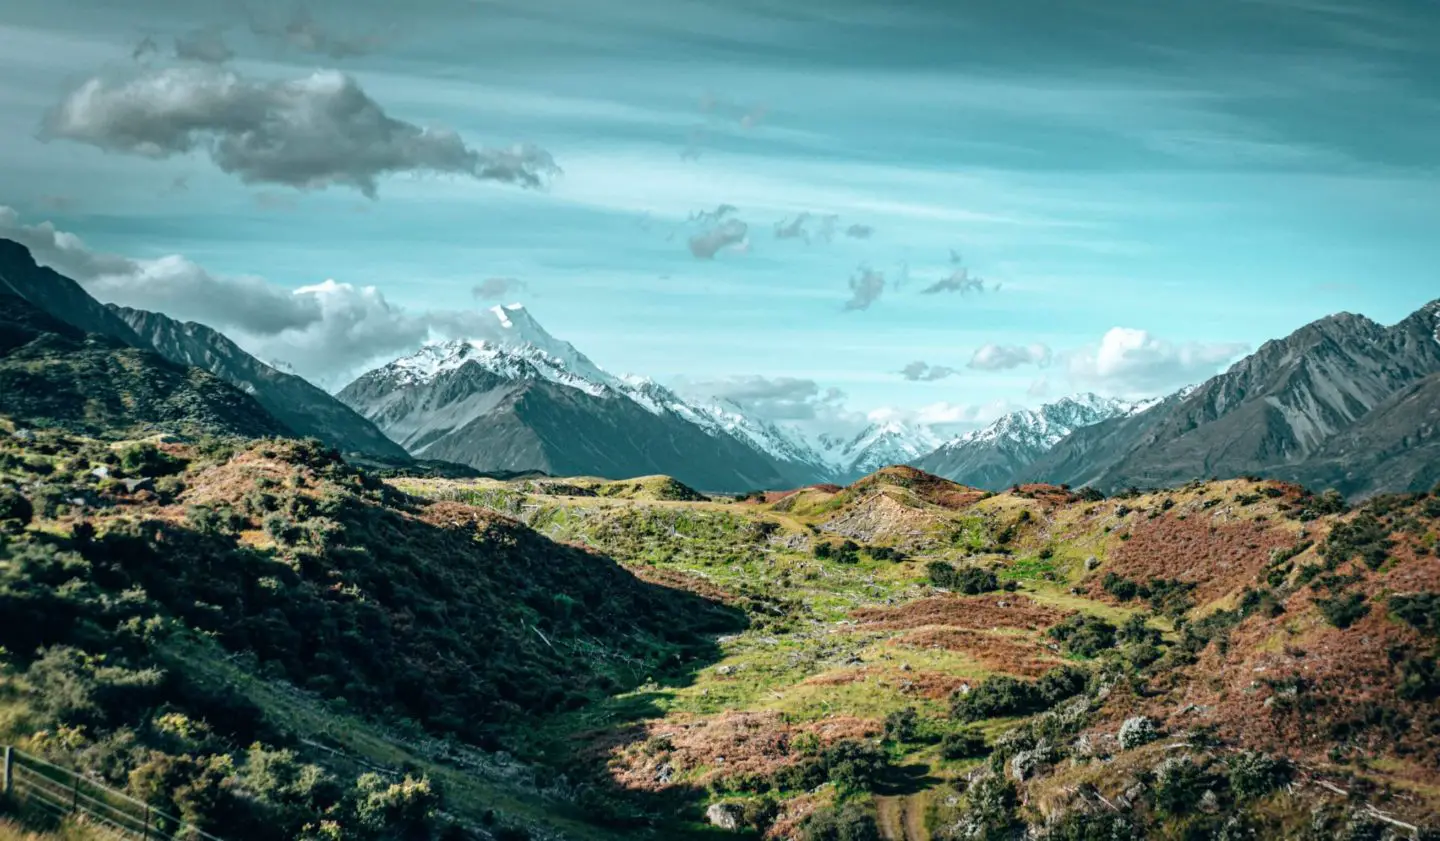
As to the peaks in your sight, you’ll see Mount Haidinger and De La Beche straight before you (behind the middle of the lake), Mount Johnson on the right and the ‘famous’ Mount Cook on the far left. Can you believe this is the view you get from just 30 minutes of walking? Yeah, we couldn’t either.
The Blue Lakes
Once you’ve taken your perfect pictures (see the section on photography below), then head back down the path and try the fork (take a right) down the Blue Lakes track.
You’ll go down about 125 metres to reach the first lake, which is generally less blue and more a green-brown brackish colour. So, why the Blue Lakes name you might ask?
Essentially when the lakes where formed in the mid-1800s, they were created by bright blue glacial water that melted from the Tasman Glacier. Nowadays since the glacier is so much smaller, the water doesn’t flow into the lakes anymore so they are predominantly filled with much warmer rainwater, which gives it a green hue from the green algae flourishing within it.
And, with that, you’re done! Head back up the lake track (125 metres), and then down towards the car park, and to your next destination; perhaps one of the other hiking trails we’ve included below!
Bonus: You could of course also continue down the Tasman Lake Track to see the jetty and the Tasman river. As we mentioned, this is more for the boat rides but it does offer some more close-up views of the Tasman Lake itself.
Photo Spots near the Tasman Glacier
So you might not know this, but we are avid Instagrammers and pretty avid amateur photographers. And we love great photo spots!
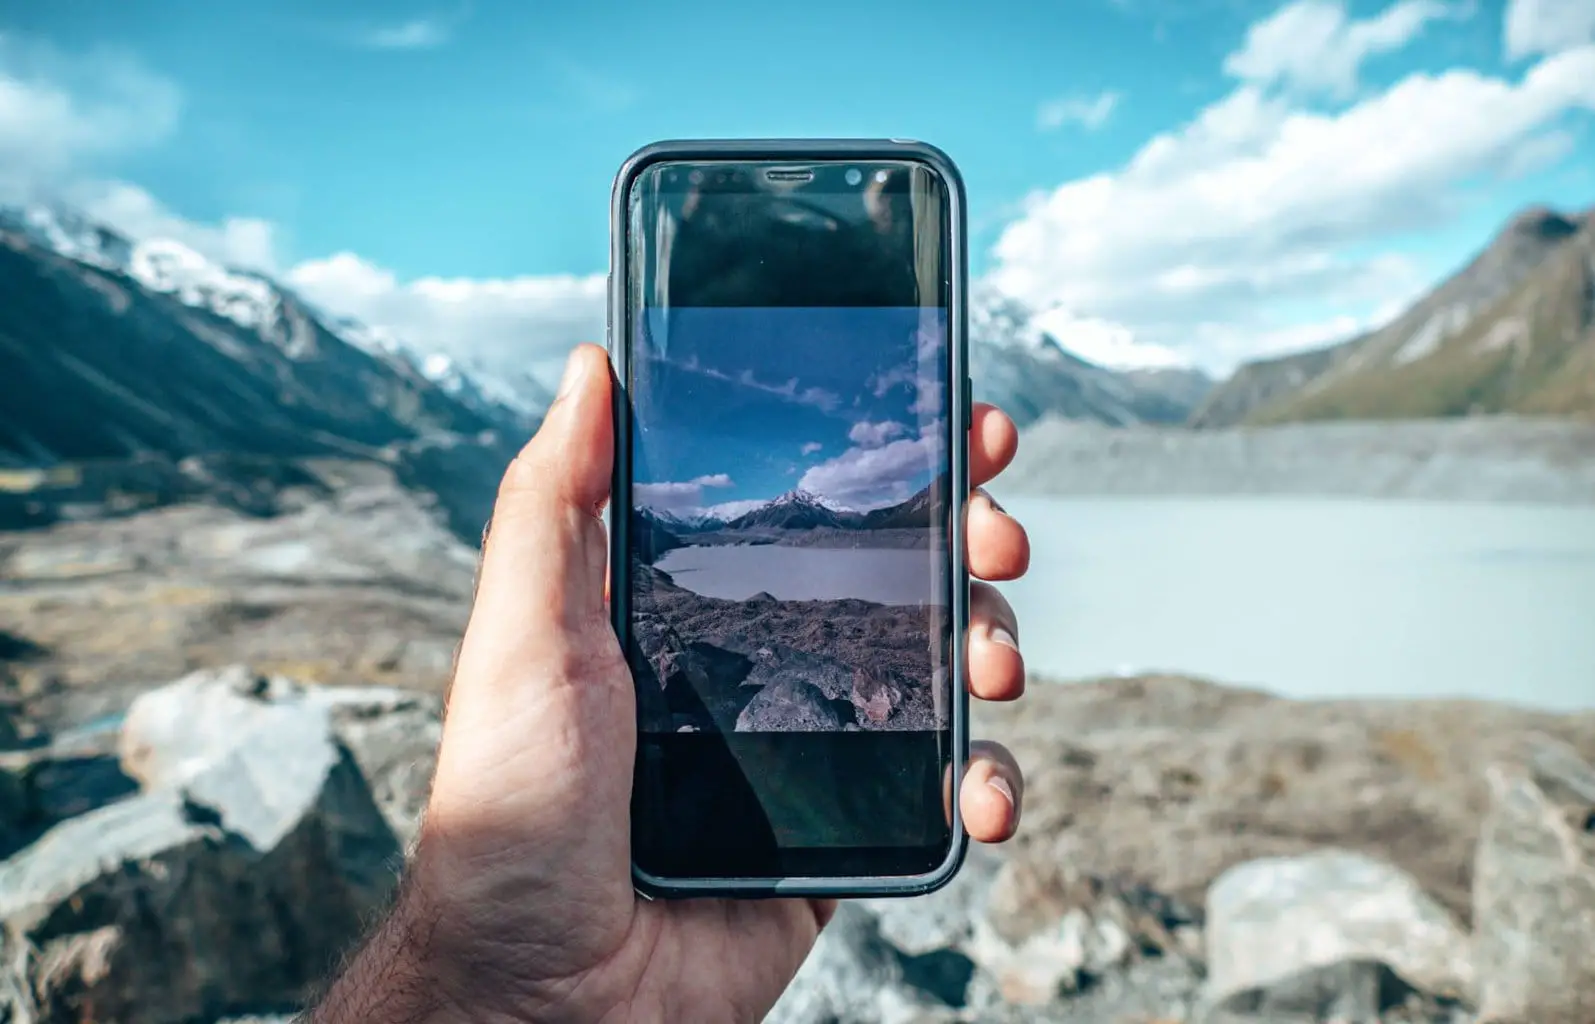
At the top of the Glacier Walk, you’ll find ample opportunity for some cracking shots, like the ones we have above in this article. Take them from the platform or even clamber over a few of the rocks on the left-hand side to get away from the crowds.
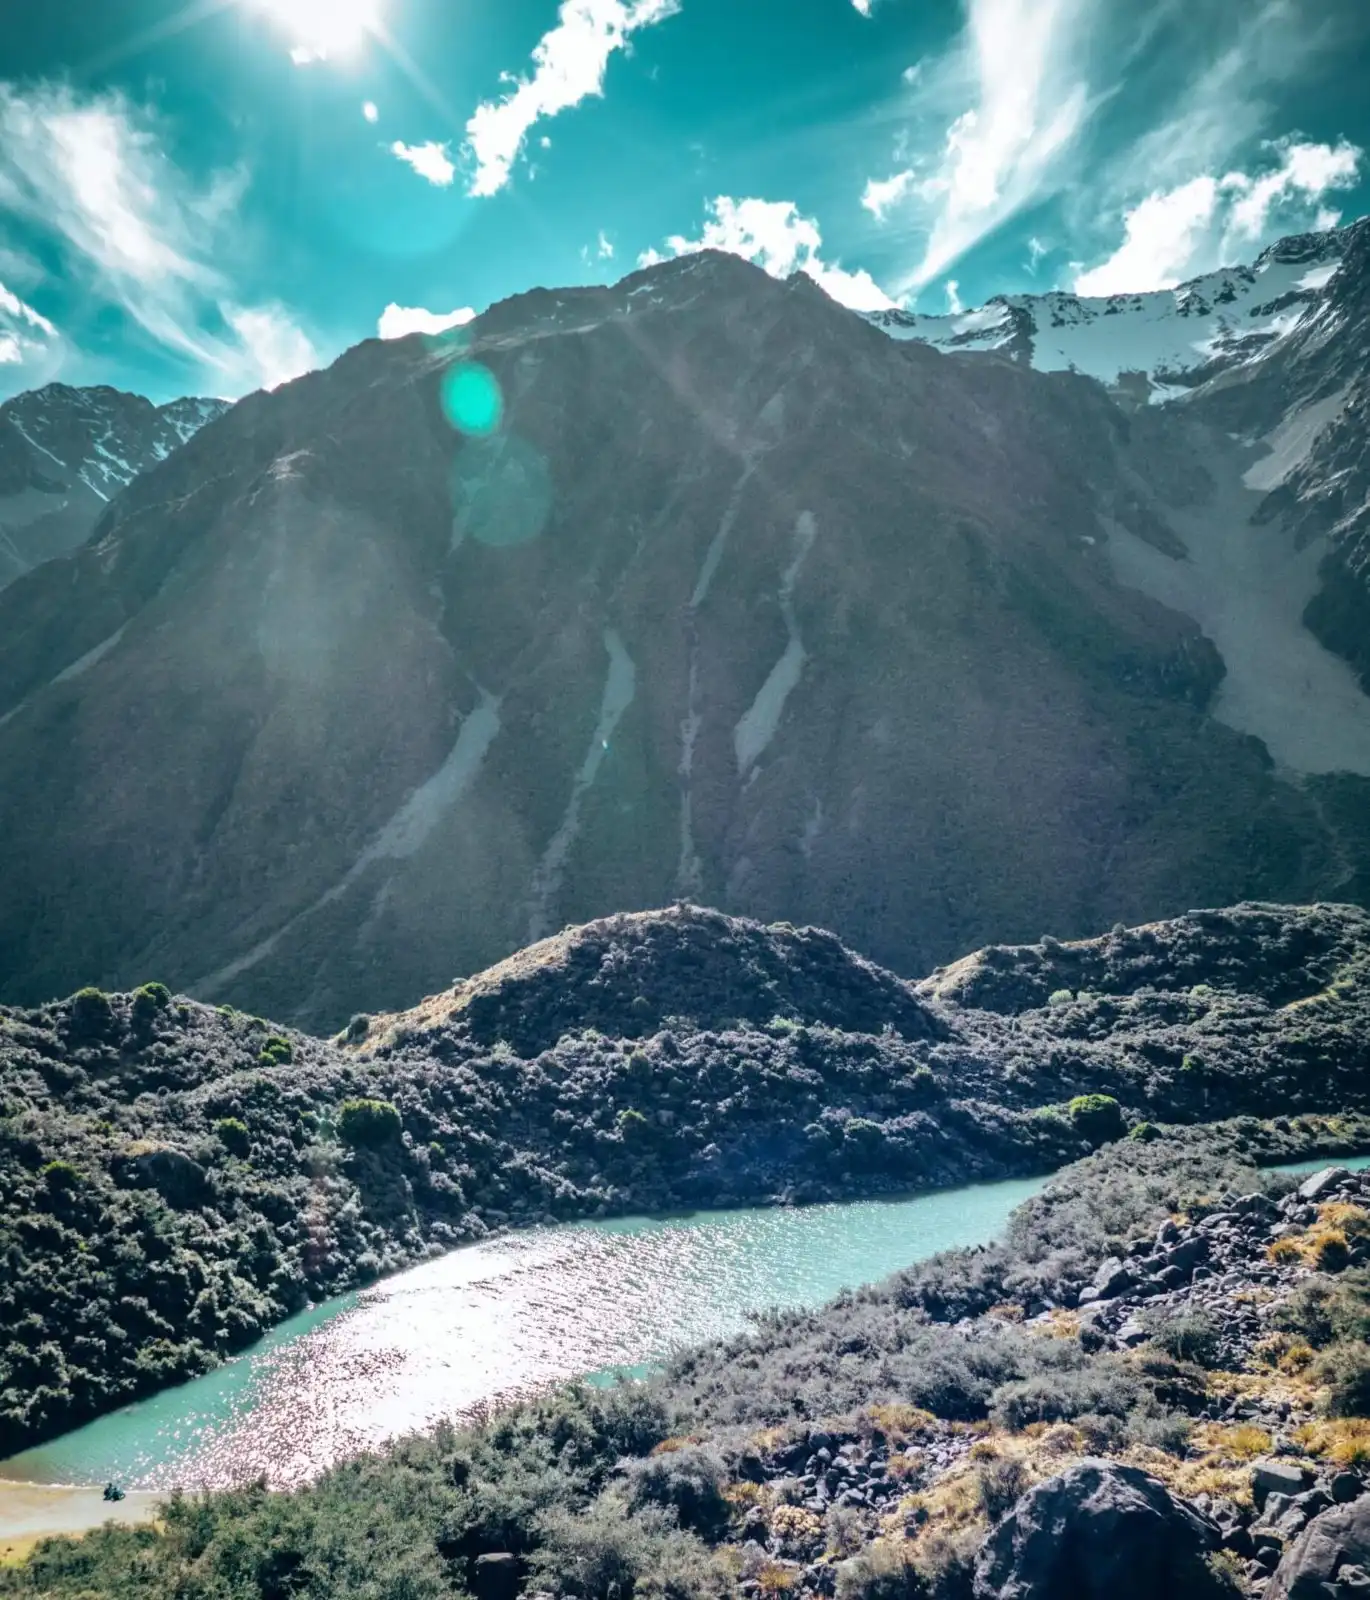
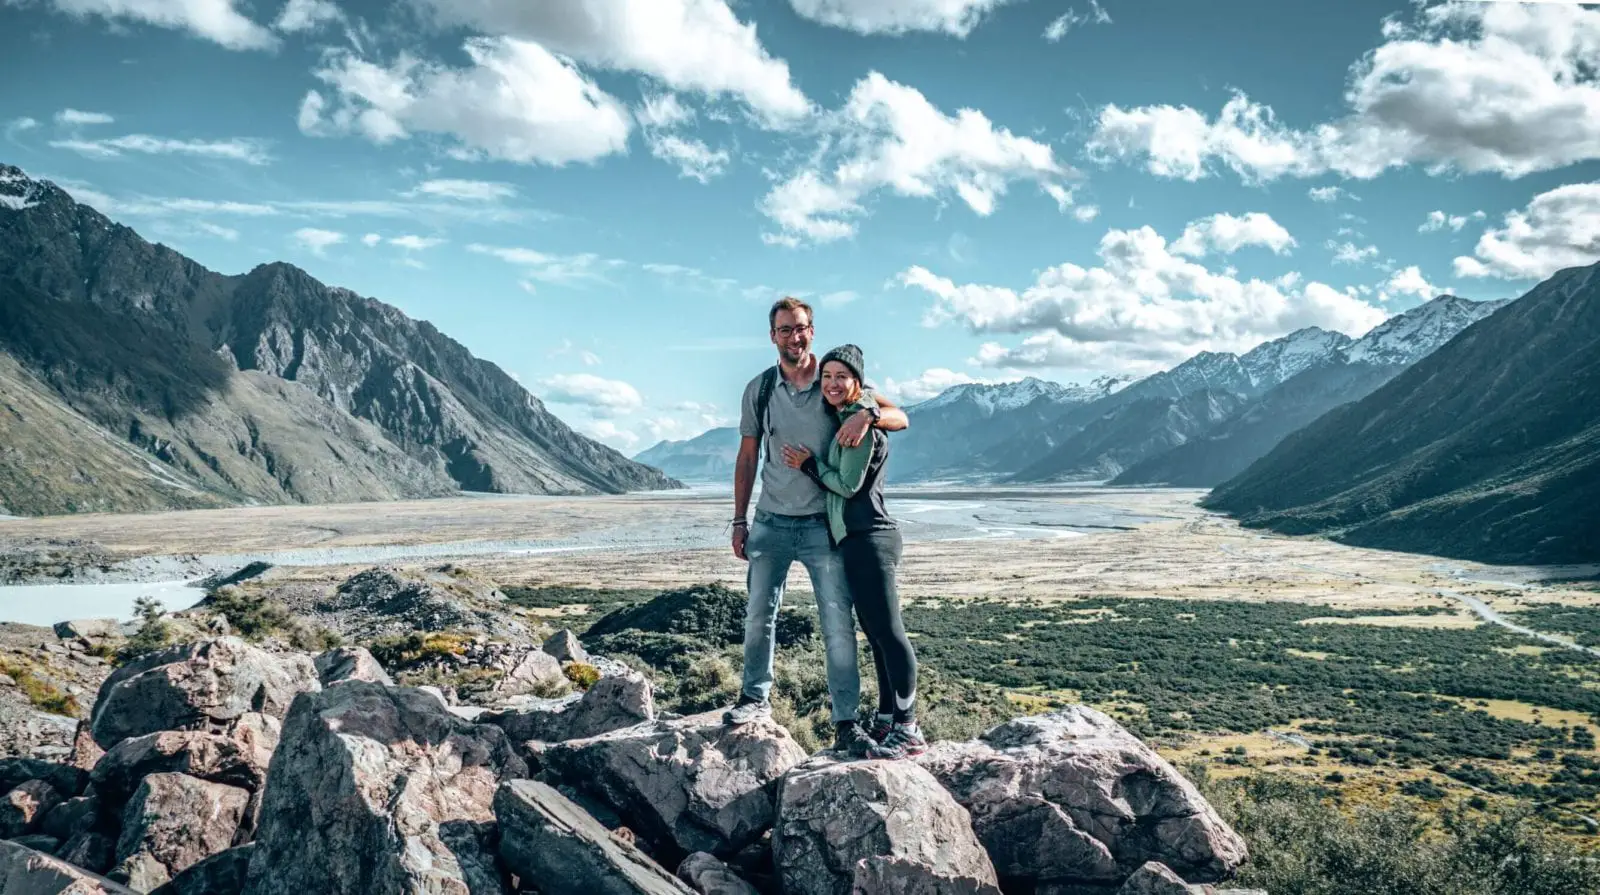
We’d also suggest that you spin around and clamber on the rocks that face away from the glacier, to get some views of the valley below. Like this shot:
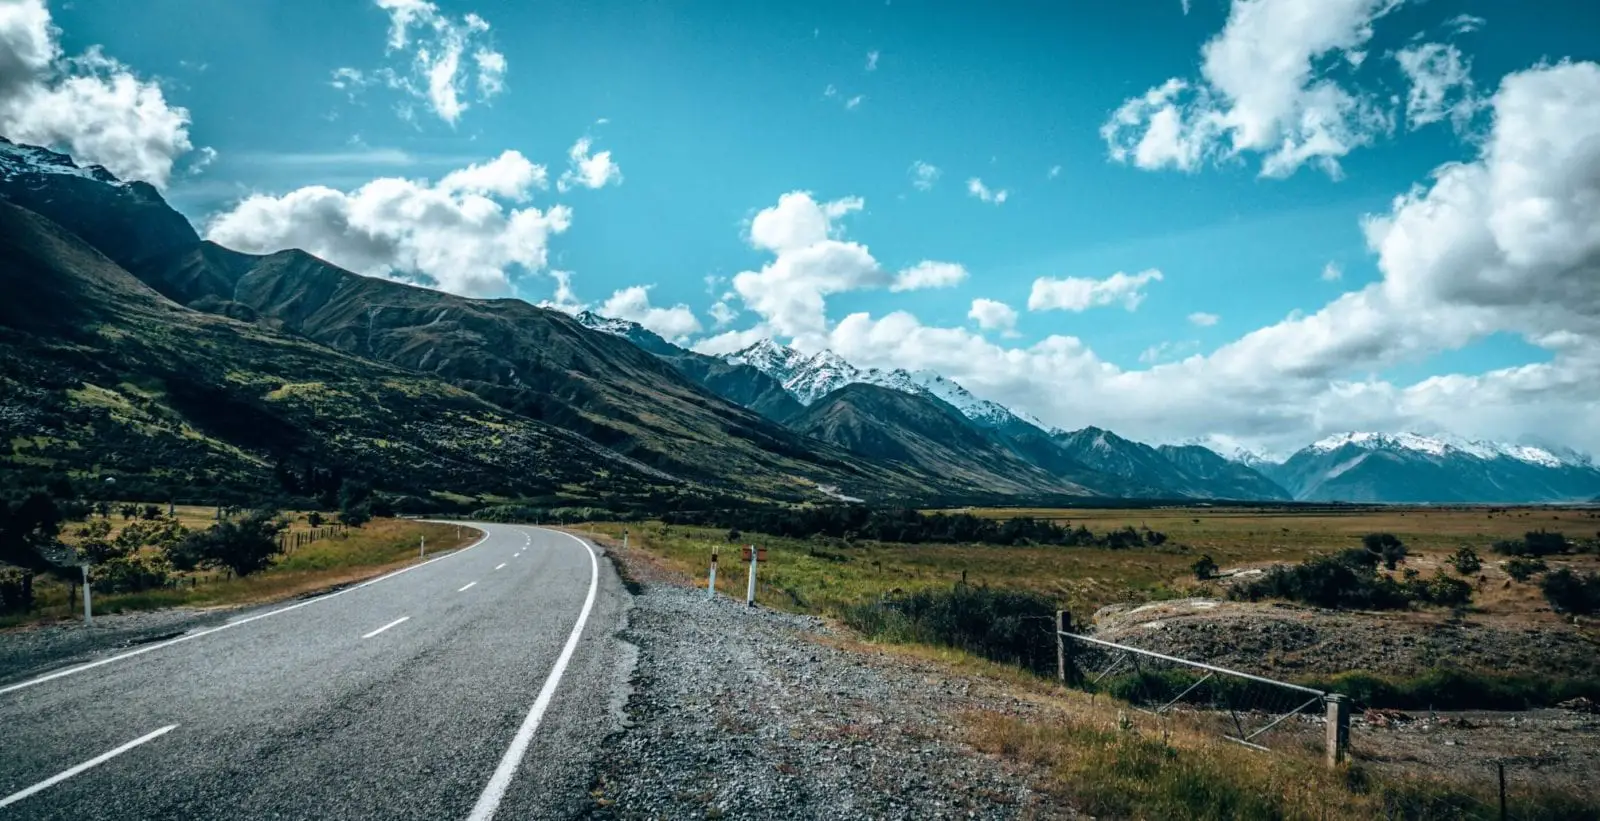
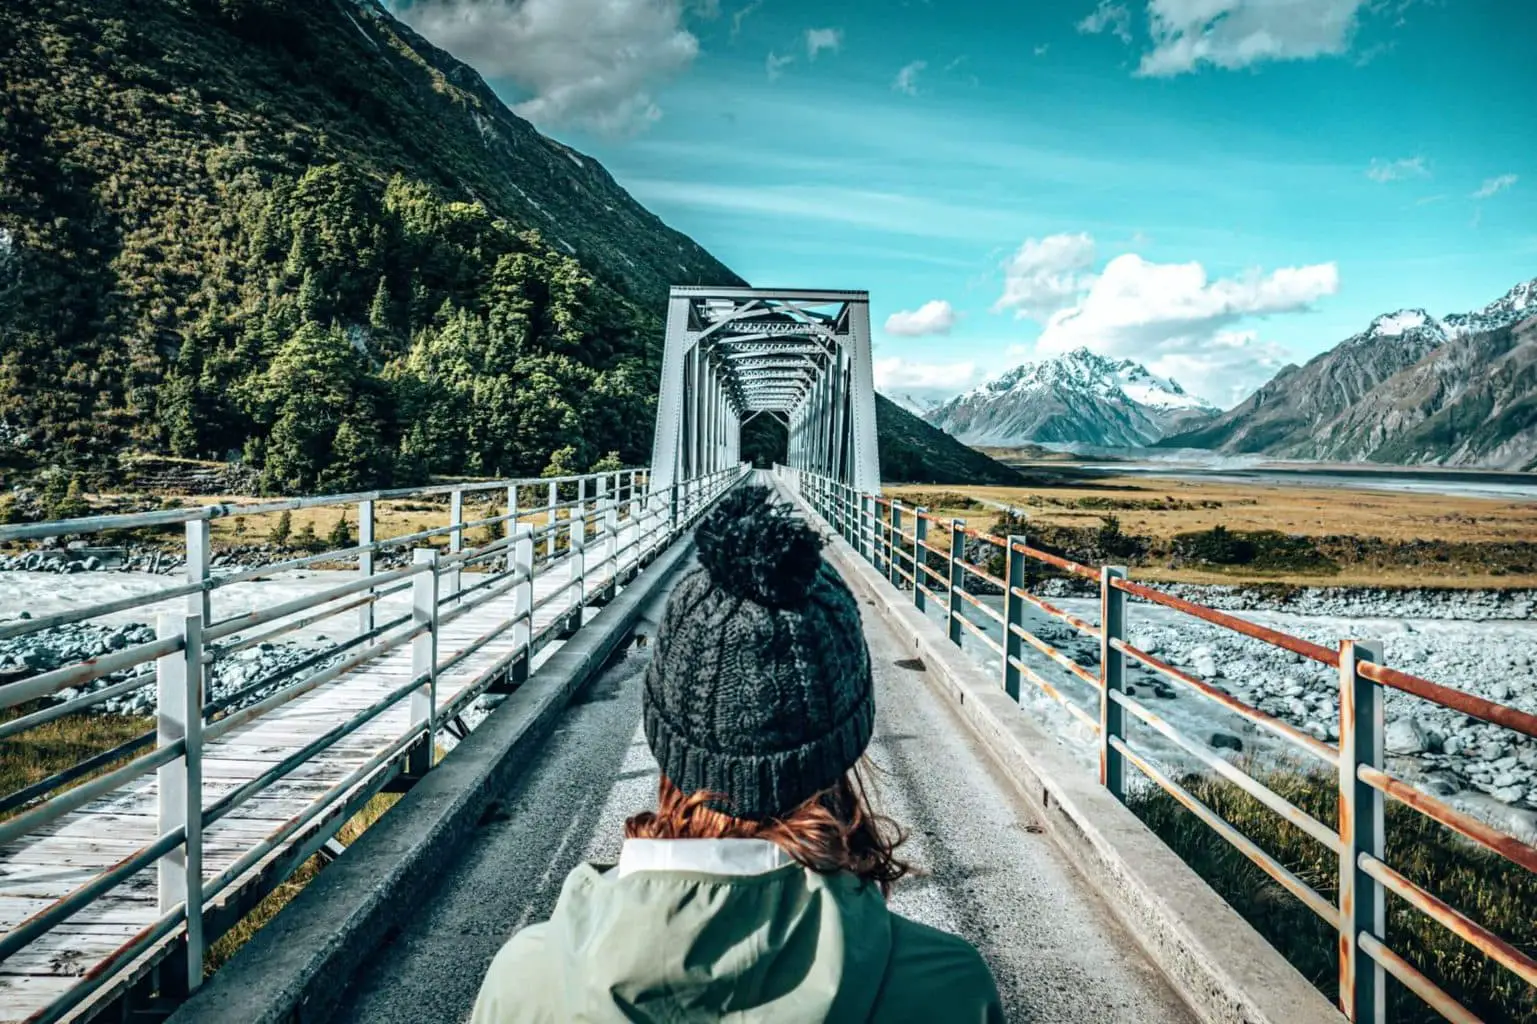
Then, if you are obsessed with architecture and different structures, you might have noticed a steel bridge as you crossed the Hooker River, near the intersection between Tasman Valley and Mount Cook road (about 5.6km from the car park itself).
There is a place to pull over just after the bridge (please be careful and considerate of other motorists), and then wait to take your perfect shots at this gorgeous location.
More hiking trails near Mount Cook
If this incredibly easy hike was only enough to whet your appetite, then there are lots of phenomenal Tasman Glacier walks and tramping routes in the area. Here are three of the most famous:
Hooker Valley Track
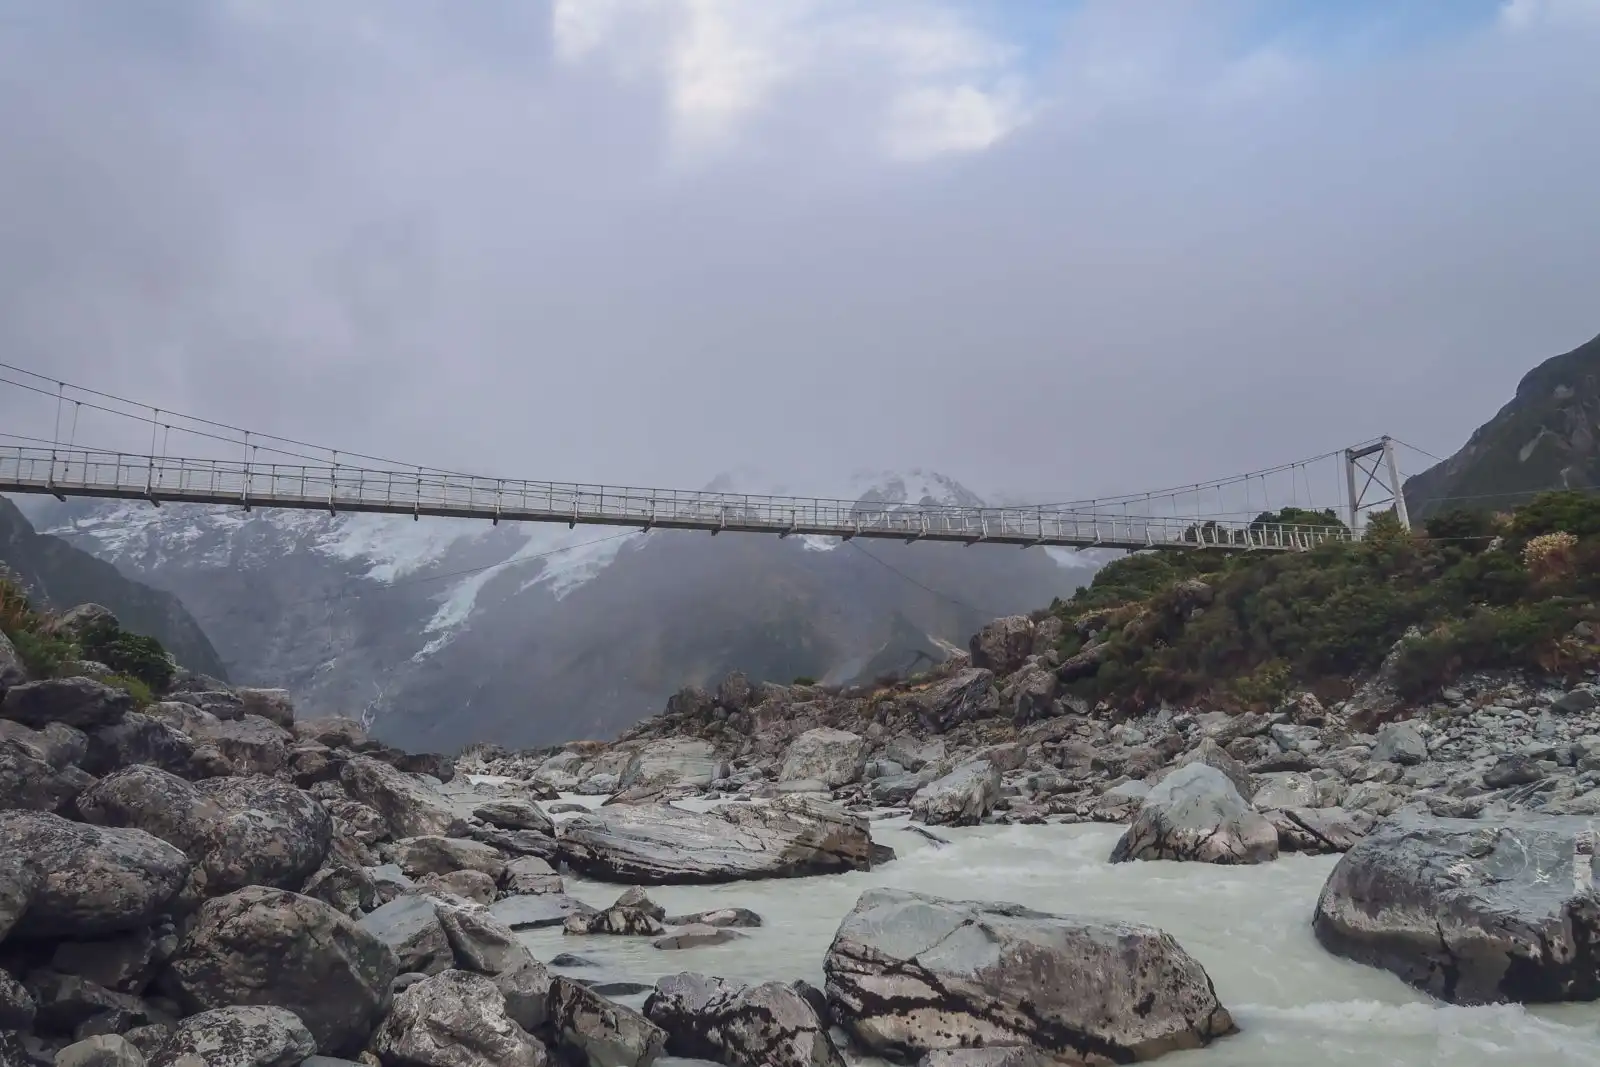
The most ‘famous’ of all the hikes in the Aoraki / Mount Cook National Park is undoubtedly the Hooker Valley Track. This one sees you traverse three suspension bridges, it takes you right next to the beautiful Mount Cook itself. While this hike takes about 3 hours as a round trip, it’s also pretty moderate going since there is almost no elevation so you’re on flat terrain for most of it.
Mueller Hut
The postcard-perfect red Mueller Hut is a great reward for any trekking fanatic. Now, we didn’t do this hike (we ran out of time), we but would have loved to! This is a moderate to difficult hike of over 5km long. The first half of the hike is over 2,000 stairs making it slightly harder going, and then quite a bit of steep uphill and climbing. It takes about 3-5 hours depending on fitness and time of year (much longer in winter) but you’re rewarded with stunning views and, of course, the hut at the end! If you don’t want to do the return route in one day, you can stay at the hut, which has bunk beds. You can book it with the DOC here.
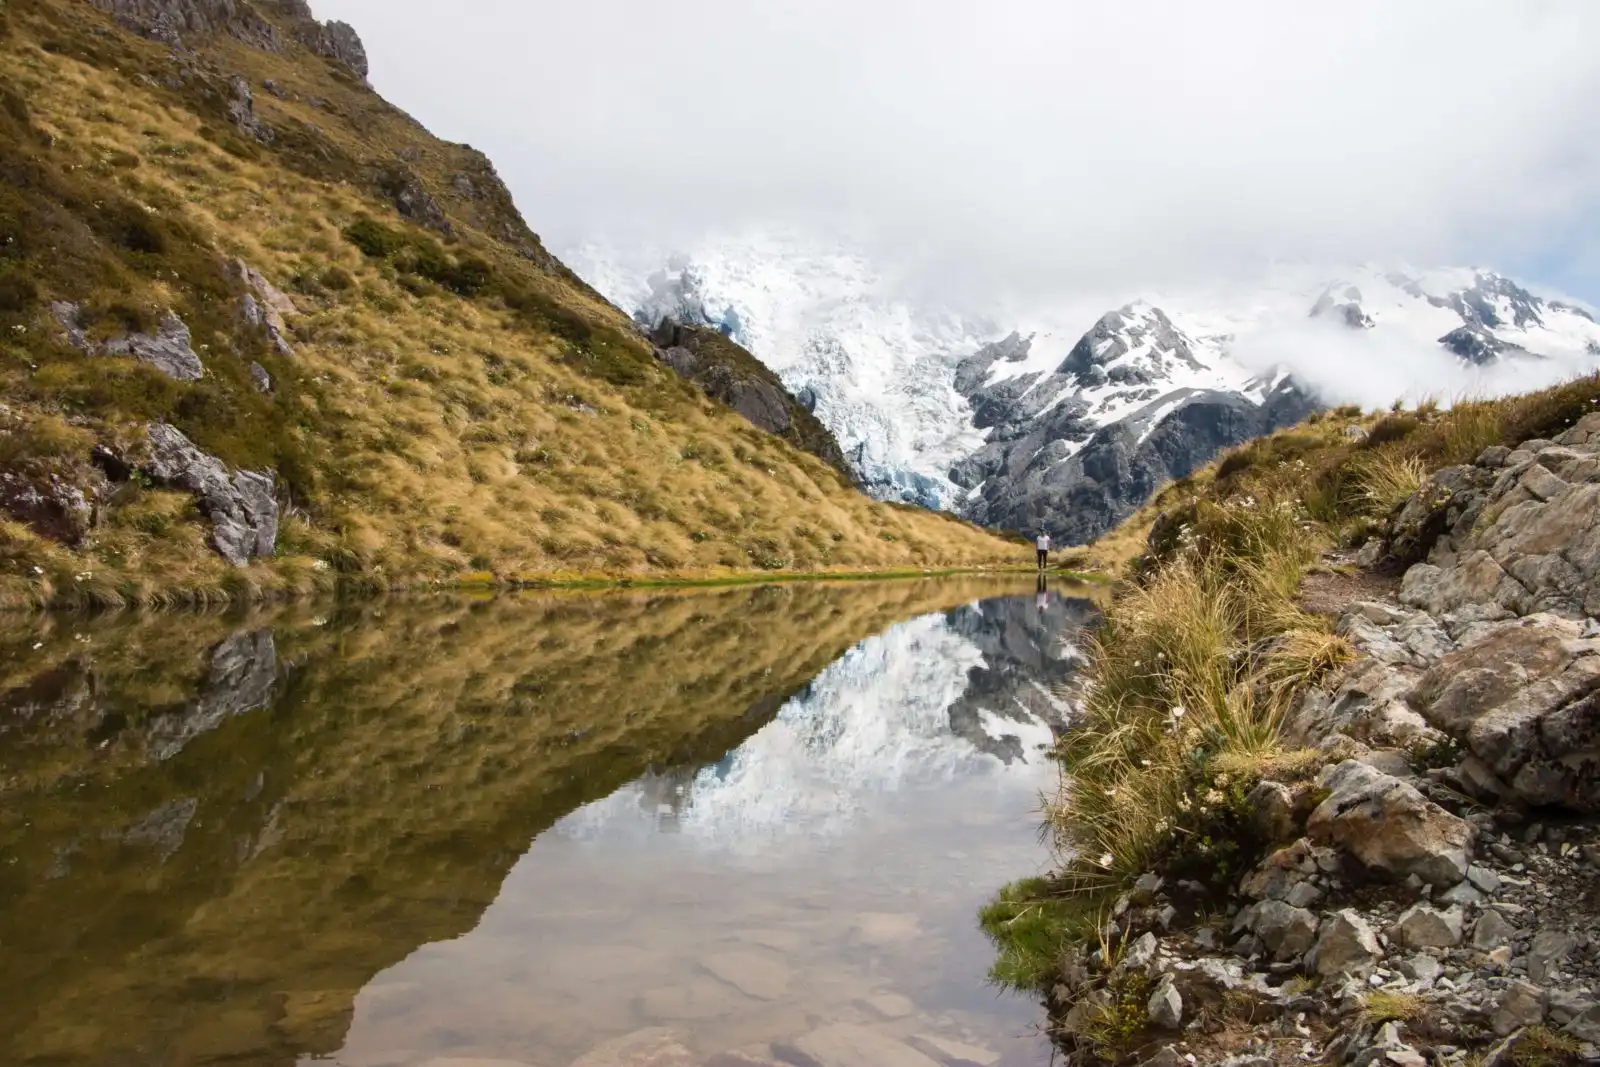
Sealy Tarns Track
Technically Sealy Tarns is just the first bit of the Mueller Hut hike! It’s been dubbed the ‘Stairway to Heaven’ since it has those 2,000 steps. But, hey, after you’ve climbed them you’ll find yourself absolutely surrounded with towering mountains and the Hooker Valley laid out before you, so well worth the effort!
Where to Stay
Where to stay really depends on your mode of travel; whether you’re in a self-contained campervan or just driving around or on tour, and looking for accommodation. Here are a few of our favourite options:
Budget: YHA Hostel is the most affordable option near the viewpoint. This is a great backpacker lodge and feels like you are in the Swiss Alps – think log cabin vibes, but also a welcoming social atmosphere.
Mid-range to Luxury: Pick of the bunch is the Aoraki Mount Cook Alpine Lodge. This cosy lodge is perfect for wintry (or sunny) days offering impressive views, and all the amenities you need like comfy beds, hairdryers and even BBQ facilities and a self-catering kitchen.
Campervan: We did our South Island itinerary in a self-contained campervan, which was an epic choice since it gave us so much freedom to move around. The closest camping ground with power is Glentanner Holiday Park. It had really great camper plots, a pretty well-equipped kitchen but we did have a problem with the showers on the day we visited; it felt like they used glacier water!
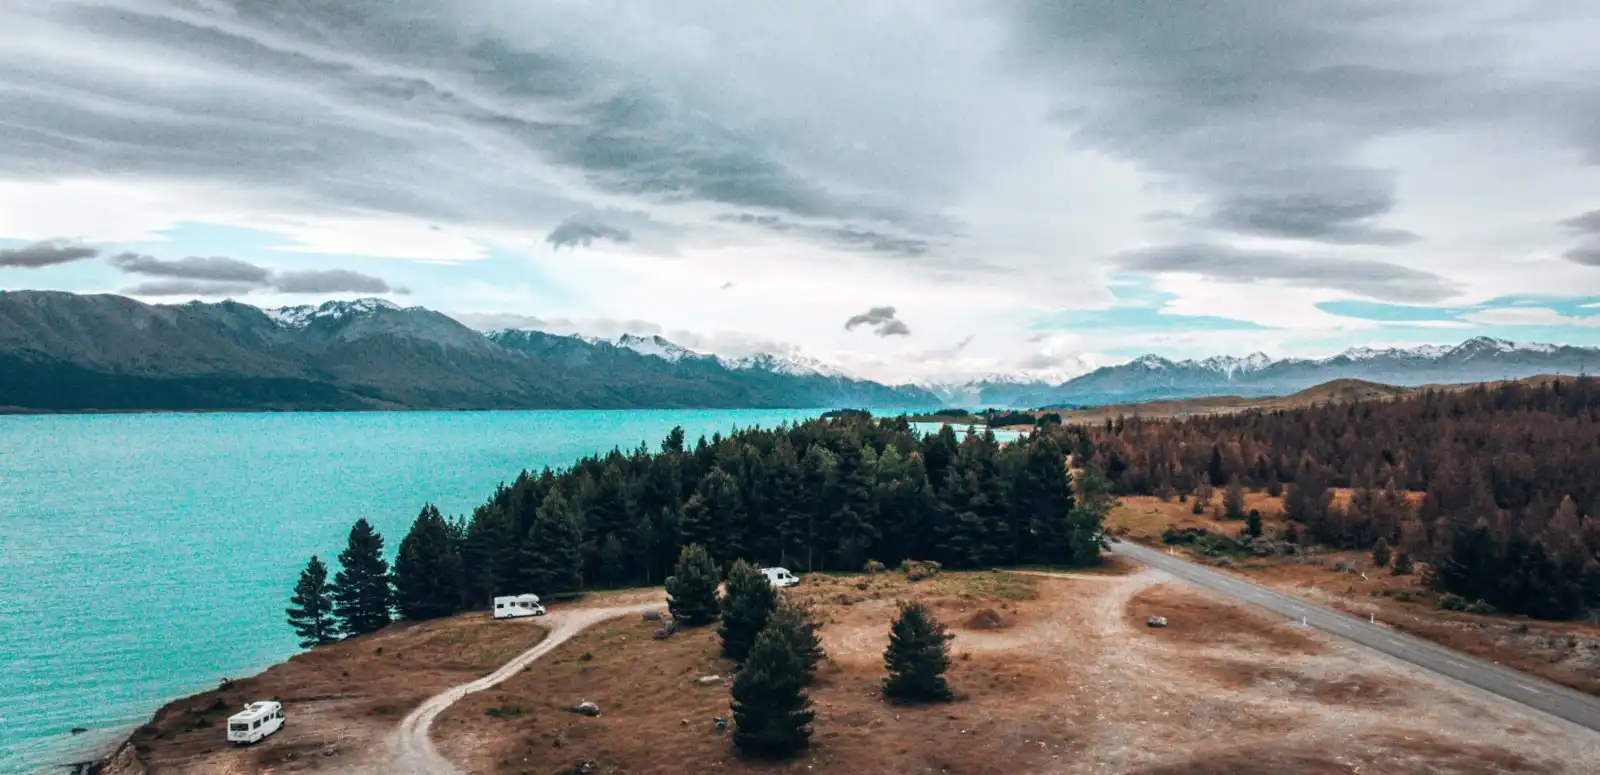
If you’re willing to go a bit further, you can free camp at an absolutely spectacular spot near Lake Pukaki known as ‘The Pines’. There are no facilities so you need a self-contained campervan with toilet but, trust us, this place is out of this world. There is nothing like waking up with this view.
Check out the details on Rankers.
Read next: What to do when you reach Queenstown, with our city guide.
What to pack
- Water bottle. New Zealand always has places to refill your water bottle and, even if not, then get yourself a LifeStraw – it’ll save you money in the long run and it’s good for the planet.
- Camera. The most important thing – you want to document this hike!
- Waterproof jacket or poncho. It can be cloudy and rainy up on the mountain, more likely than not. So make sure that you’ve got something that keeps you dry.
- Warm clothing. Even if you do this walk in summer (as we did), this is alpine territory so can get a little chilly
- Sunscreen and sunglasses. That said, you can still get sunburnt out there, so keep protected
- Great hiking shoes! Okay you don’t really need hiking shoes but still sturdy shoes would come in handy. Personally we always wear our Salomon XA Pro 3D.
What camera equipment and other gear do we use?
We’re living proof that you don’t need the most expensive gear to travel the world and take good photos. Here are some of our must have items that make it into the packing list for all our travels.
- Main Camera: Panasonic Lumix FZ1000
- Drone: DJI Mavic Air – Fly More Combo
- GoPro: Hero 7 Black
- GoPro Dive Case: Go Pro Housing
- GoPro Case: Smatree GoPro Carry Case – Small
- Packing Cubes: Eagle Creek Packing case
- Backpack: Osprey Farpoint 70
- Powerbank: Anker Powercore
- Phone: Xiaomi Mi 9
- Hard drive: Transcend Slim Storejet 2TB
- Laptop: Lenovo IdeaPad 720s
- Headphones: Bose Quiet Comfort 35
- Wifi Hotspot: GlocalMe G4
Frequently Asked Questions: The Blue Lakes and Tasman Glacier View Track
Is there parking at the Tasman Glacier View Track?
Yes. There is definitely sufficient parking – it can get a little crowded but usually there is a space for you to park. We parked a large campervan there relatively easy (as easy as it is to park a relatively large campervan!)
Are there toilets are the Tasman Glacier View Track?
Yes, there are basic flush toilets at the base, in the car park.
How much does the Tasman Glacier hike cost?
It’s absolutely free of charge.
Can you fly a drone at the Tasman Glacier?
No. there are many rules about flying drones in New Zealand and, in general, you need to apply for permits in all the DOC (Department of Conservation) sites like National Parks. That said, this viewpoint is near an aerodrome which offers glacier flights, so it’s a strict no-fly ‘no drone’ zone.
What do you think of our guide to the Tasman Glacier and it’s easiest walking track? Let us know if we’ve missed anything (or something has changed!) by leaving a comment below or getting in touch!
Want to save this for later? Why not pin it…

Meeting the great “chief” (Aoraki) was something extraordinary that I will never forget! I wish I had more time to spend in the national park and do the Kea Point Track as well!